

A chimney introduces warmth, character, and comfort to your living space, but it also creates a substantial opening through your roof deck. Chimney flashing is the multi-layered barrier of custom-shaped sheet metal installed where your vertical brick, stone, or pre-fabricated chimney stack intersects with your pitched roofline. Without an airtight and watertight junction, rain, melting snow, and ice naturally penetrate beneath your shingles and into the underlying roof framing. Markham Chimney Services delivers dependable chimney flashing solutions designed to shield local properties from catastrophic water intrusion and costly interior repairs.
Located at 4418 Highway 7 East in Markham, our independent team works directly with homeowners throughout Markham neighbourhoods to troubleshoot stubborn chimney leaks and fortify aged roof penetrations. Ontario weather presents distinct challenges, shifting from humid, rainy summers to bitter, snowy winters that subject masonry and roof valleys to severe thermal strain. By pairing traditional metalcraft with meticulous inspection techniques, we make certain that your flashing system sheds moisture efficiently, protects your attic insulation, and maintains structural durability across the roof deck for decades of dependable seasonal performance.
Chimney Flashing: visit summary
Chimney Flashing: caps, crowns, dampers, flashing and liners checked and serviced so the chimney drafts and seals properly. Serving Markham and the Greater Toronto Area (GTA). The estimated local market range is $450 – $1,850, not a fixed company rate. The final scope and quote are confirmed before work begins.
| Estimated market range | $450 – $1,850. All estimates are in Canadian dollars and exclude 13% Ontario HST. |
|---|---|
| Typical time | 3 to 6 hours |
| Price factors | Roof pitch, accessibility, and working height above ground level; Metal material choice between aluminium, galvanized steel, or custom architectural copper; Chimney dimensions, need for a rear cricket saddle, and underlying timber rot repairs |
| Routine signs to discuss | Ceiling Water Stains Near the Chimney; Damp Attic Insulation and Timber Rafters; Cracked, Peeled, or Deteriorated Caulk Beads; Rusted, Buckled, or Pitted Sheet Metal; Efflorescence on Interior Chimney Brickwork; Musty Odours from Fireplace or Attic |
Understanding Chimney Flashing and Roof Intersection Anatomy
Chimney flashing is not simply a strip of metal stuck against masonry with exterior caulk. It is a dynamic, layered system engineered to bridge two disparate building assemblies that settle, expand, and contract at entirely different rates throughout the year. The heavy masonry chimney rests on your home foundation, while the timber rafters and roof deck move with atmospheric moisture and wind loads. Flashing must accommodate this natural structural movement without tearing, buckling, or pulling away from the brick mortar.
A proper chimney flashing installation relies on two integrated layers: the base flashing and the counter flashing. The base flashing, often arranged as overlapping step flashing pieces along the chimney sides, is installed directly over the underlayment and woven meticulously between successive shingle courses. The counter flashing, also known as cap flashing, overlaps this base layer from above and is embedded securely into the brick mortar joints through cut reglets, forming a protective mechanical watershed that redirects cascading water safely onto the roof shingles.
At the higher end of the roofline, where the chimney back faces the ridge, moisture and leaves naturally accumulate. For chimneys wider than thirty inches, building standards call for a specialized secondary metal diverter called a cricket or saddle. This peaked sheet metal structure splits descending water flow around both sides of the chimney stack, preventing standing puddles from rotting roof boards, compromising underlayment, or working their way behind the rear masonry flashing apron.
- Base flashing creates an impervious seal across the flat roof decking and underlayment.
- Step flashing ascends roof slopes with individual overlapping metal pieces integrated into each shingle course.
- Counter flashing locks into mortar reglets to shield the top edges of base flashing from downpours.
- The bottom apron guides runoff smoothly over the front shingles below the chimney stack.
- A customized chimney saddle diverts heavy downpours, leaves, and drifting snow away from broad rear masonry walls.
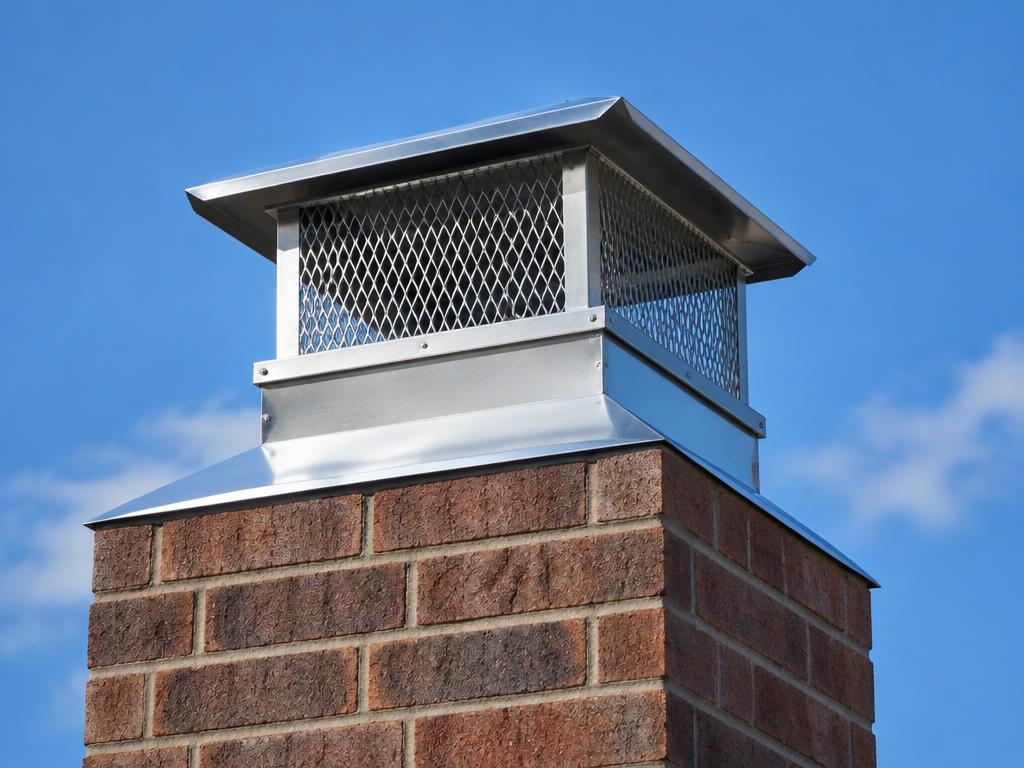
Durable, weatherproof chimney flashing tailored to protect Markham homes from harsh winter freeze-thaw cycles.
Self-check
Warning signs you need chimney flashing
Ceiling Water Stains Near the Chimney
Brown, yellow, or discoloured rings appearing on drywall ceilings or along upper-level walls adjacent to the chimney stack indicate that rainwater or melting snow is bypassing the flashing apron and traveling down roof rafters.
Damp Attic Insulation and Timber Rafters
Entering your attic reveals compressed, soggy fiberglass insulation, black mould patches, or damp timber roof decking immediately surrounding the chimney masonry penetration, pointing to an active, unsealed leak in the underlying step flashing courses.
Cracked, Peeled, or Deteriorated Caulk Beads
Visual inspection shows dried, shrivelled, or pulling-away roofing mastic along the top lip of the counter flashing. Exposed gaps indicate that the sealant has failed and cannot withstand wind-driven rain or winter meltwater.
Rusted, Buckled, or Pitted Sheet Metal
Visible rust streaks, holes, or warped metal plates pulling away from the brick face demonstrate that age, thermal movement, and acidic atmospheric moisture have physically compromised the flashing barrier, necessitating full metal replacement.
Efflorescence on Interior Chimney Brickwork
White, powdery mineral deposits coating the brickwork in your attic, crawlspace, or upper living room reveal that exterior moisture is soaking behind failed flashing and evaporating outward through the soft interior mortar joints.
Musty Odours from Fireplace or Attic
A lingering, damp, or earthy smell originating from your fireplace opening, attic hatch, or surrounding drywall suggests hidden mould growth supported by persistent, slow-drip water intrusion around the chimney roof-penetration perimeter.
The Impact of Ontario Freeze-Thaw Cycles on Chimney Waterproofing
Markham homeowners experience dramatic seasonal swings, with winter temperatures frequently fluctuating above and below the zero-degree Celsius mark within hours. This persistent freeze-thaw dynamic is the primary catalyst for premature flashing failure across Southern Ontario. When winter snow settles on your roof, ambient heat escaping from your attic or chimney flue melts the bottom layer of the snowpack, sending liquid water trickling down toward the flashing barrier.
If your counter flashing possesses micro-fissures, aged sealants, or compromised mortar joints, this runoff enters the narrow gap between the metal and the brickwork. As overnight temperatures plunge below freezing, that trapped moisture expands by roughly nine percent. This physical expansion exerts immense mechanical pressure, prying metal away from the masonry, widening mortar joints, and popping caulking beads. Over several consecutive winters, what began as a hairline separation becomes a direct channel for interior moisture leaks.
Ice damming adds another layer of vulnerability to roof-chimney intersections during peak winter months. As melting snow encounters cold roof eaves or collects behind an unshielded chimney stack, it refreezes into thick ice barriers that back up liquid water under shingles and behind flashing aprons. Standard roofing felt quickly saturates under standing pools of ice melt, making robust, mechanically fastened metal flashing and heavy-duty ice and water membrane underlayment critical components of seasonal home preservation.
- Rapid temperature swings expand trapped water, physically prying metal flashing outward from brick mortar.
- Thermal expansion causes dissimilar materials like sheet metal and clay masonry to shift unevenly.
- Snow accumulation melts against heated chimney shafts and creates heavy ice dams in roof valleys.
- Refreezing meltwater forces its way beneath shingle tabs and backward over standard metal flanges.
- High-grade waterproof underlayment beneath step flashing prevents ice-dam pooling from penetrating timber roof rafters.
Metal Selection and Custom On-Site Fabrication Standards
The longevity of any chimney flashing installation is determined largely by the quality of the raw sheet metal and how precisely it is folded to match the specific pitch of your roof. Mass-produced, light-gauge metal rolls sold in hardware aisles rarely provide the structural rigidity or depth needed to weather Markham conditions over several decades. Our technicians measure the unique pitch, rake, and masonry contours of your chimney before shaping resilient metal stock on specialized sheet metal brakes.
Pre-finished aluminium and heavy-gauge galvanized steel are widely selected for residential flashing projects due to their balance of affordability, structural stability, and rust resistance. Heavy-gauge galvanized steel handles harsh mechanical abrasion well, while architectural-grade pre-painted aluminium features baked-on enamel coatings that resist corrosion, oxidation, and acid rain. We select finishes that complement your roof colour while delivering thirty-gauge or twenty-six-gauge durability that stands up to severe wind-driven rain and snow weight.
For heritage brick residences, stone chimneys, or discerning homeowners seeking a century-long building envelope, natural copper flashing provides an unmatched standard of protection and visual elegance. Copper naturally oxidizes over time, developing a resilient greenish patina that shields the raw metal from environmental decay without requiring paint or protective sealants. Furthermore, copper pieces can be soldered along seams on site, producing completely monolithic, leak-proof transitions at roof corners and crickets where traditional overlapping joints might eventually leak.
- Commercial-grade aluminium offers reliable rust resistance and arrives in baked colours matching existing shingles.
- Galvanized steel delivers rigid structural strength capable of resisting heavy physical snowdrifts.
- Hand-soldered architectural copper forms seamless, permanent watertight joints around complex roof crickets.
- Heavy-gauge metal stops wind uplift from peeling step flashing tabs back during intense thunderstorm squalls.
- Custom brake-formed metal channels match the unique rake angle and masonry curvature of each home.
Primary Causes of Flashing Deterioration in Markham Homes
Flashing failures rarely occur overnight; they develop through a mixture of environmental aging, seasonal stress, and substandard installation methods. One of the most prevalent defects we discover in local subdivisions involves roofers who simply smeared thick roofing tar or exterior silicone over failed flashing during a previous shingle replacement. Mastic and caulk dry out, shrink, and crack within two to three seasons of intense summer heat, leaving loose metal unsecured beneath crumbling adhesive.
Another chronic cause of flashing leaks is the improper use of single-piece flashing instead of true, two-piece step and counter flashing configurations. When a roofer nails a single bent piece of metal into both the roof decking and the chimney brickwork, normal house settling and roof framing movement tear the metal or pull the fasteners straight out of the mortar. Counter flashing must float over the base flashing, allowing the chimney and roof to flex independently without breaking the weatherseal.
Physical corrosion also eats away at flashing systems over prolonged timelines. Acidic gases emitted from oil or natural gas combustion flues mix with rainwater, creating an acidic wash that runs down the chimney stack and lands directly on roof-level flashing. If the metal lacks corrosion resistance or is continually coated in wet pine needles and leaf debris, galvanic corrosion and rust holes eat through the metal plates, permitting moisture to enter the building envelope undetected.
- Reliance on roofing mastic and caulk seals instead of mechanically locked reglet mortar joints.
- Nailing a single metal piece to both roof and wall, preventing natural structural movement.
- Acidic flue condensation washing down the chimney exterior and chemically corroding exposed metal edges.
- Accumulation of wet leaves, branches, and organic debris trapping corrosive moisture against metal corners.
- Rust perforation occurring on low-grade unpainted steel components installed during hurried previous roofing jobs.
"When a storm loosened some bricks, I called for emergency repair in Thornhill. Their crew arrived within hours, secured the chimney crown, and restored its integrity without any mess. Truly impressive expertise."

Our process
How we handle your chimney flashing, step by step
- 1
Comprehensive Visual and Moisture Inspection
We examine the chimney exterior, attic framing, and roof deck using non-destructive moisture meters to identify exact water ingress points and evaluate underlying wood rot or mortar deterioration.
- 2
Careful Removal of Failed Flashing Materials
Our technicians strip away aged metal, failed caulking, decayed shingles, and saturated underlayment down to bare masonry and structural roof sheathing without fracturing adjacent chimney bricks.
- 3
Substrate Preparation and Membrane Installation
We repair deteriorated decking, apply high-temperature self-adhering waterproof membrane up the chimney wall, and saw-cut clean, uniform reglet grooves into the brick mortar joints for mechanical locking.
- 4
Custom Metal Fabrication and Layered Installation
We fold heavy-gauge metal on site to create fitted step flashing, aprons, and counter flashing, weaving base components into shingle courses and securing cap metal into reglet joints.
- 5
Elastomeric Joint Sealing and Final Site Cleanup
We pack reglet joints with industrial-grade polyurethane masonry sealant, test clearances, perform a rigorous quality verification, and clear all metal clippings and debris from your roof and gutters.
Hidden Hazards: Mould, Dry Rot, and Masonry Degradation
A leaking chimney flashing system rarely announces itself with an immediate, dramatic torrent of water through your living room ceiling. Instead, leaks usually begin as slow, insidious seepages that follow roof rafters down toward hidden exterior walls or insulation pockets. Homeowners often remain unaware of an active flashing defect for months or even years while moisture quietly ruins roof plywood, attic blown-in cellulose, and decorative timber trims within the attic envelope.
Saturated attic insulation suffers from catastrophic thermal degradation. Wet fiberglass or cellulose matting compacts, losing its insulating R-value and permitting heat to leak rapidly from your living spaces into the roof space, which further intensifies winter ice damming on your eaves. Concurrently, dark, damp attic spaces provide the ideal breeding ground for toxic black mould colonies, spreading musty odours through central heating ducts and posing health risks for family members with respiratory sensitivities.
Beneath the roof line, persistent water intrusion weakens the structural integrity of the chimney stack itself. Moisture that slips behind flashing enters interior brick courses, which are frequently softer and more porous than hard-fired exterior face bricks. As water leaches through the masonry core, it dissolves salts and lime binders within the mortar, leading to spalling, internal flue instability, and crumbling firebox walls that can eventually necessitate a full tear-down and rebuild of the chimney assembly.
- Wet attic insulation loses thermal resistance, causing winter heating bills to rise significantly.
- Moisture promotes hidden mould and mildew growth behind attic drywall and ceiling joists.
- Structural roof decking and timber rafters experience localized dry rot, wood decay, and roof sag.
- Water leaching behind flashing dissolves soft interior mortar beds, weakening the entire chimney structure.
- Ceiling plaster, wallpaper, and hardwood flooring beneath roof penetrations develop water stains and buckling.
Our Precision Diagnosis and Flashing Installation Methodology
Accurate chimney leak troubleshooting requires an exhaustive, multi-point evaluation of the entire chimney assembly rather than a quick glance from the edge of the driveway. When Markham Chimney Services arrives at your home, we access the roof deck safely to inspect the integrity of counter flashing joints, probe the condition of underlying step flashing, assess mortar hardness, and verify the slope of the rear cricket.
When replacement is indicated, our installation process begins with the complete removal of all compromised flashing, deteriorated sealants, and rotted roof underlayment around the chimney base. We strip the workspace down to clean, bare masonry and sound roof decking. Next, we install high-temperature ice and water shield self-adhering membrane that runs up the brick wall and out onto the roof deck, providing a redundant, secondary waterproof barrier beneath the forthcoming metalwork.
We then saw-cut a clean, straight reglet groove directly into the brick mortar joints using dust-controlled diamond-blade tools. New step flashing is interwoven shingle by shingle with fresh roofing courses, and custom-folded counter flashing is set deep into the reglet groove using specialized lead wedges. Finally, we finish the joint with high-performance polyurethane masonry elastomeric sealant, creating a sharp, flexible, and visually striking installation that stands up to decades of seasonal stress.
- Comprehensive roof deck and attic evaluation to differentiate flashing leaks from porous masonry absorption.
- Clean removal of old flashing, rotten underlayment, and failed mastic without damaging original brickwork.
- Application of heavy-duty, self-adhering waterproof membrane providing redundant protection under the metal.
- Diamond-blade reglet cutting into mortar joints for true mechanical anchoring of counter flashing.
- Installation of custom brake-formed step and counter flashing sealed with high-grade polyurethane sealants.
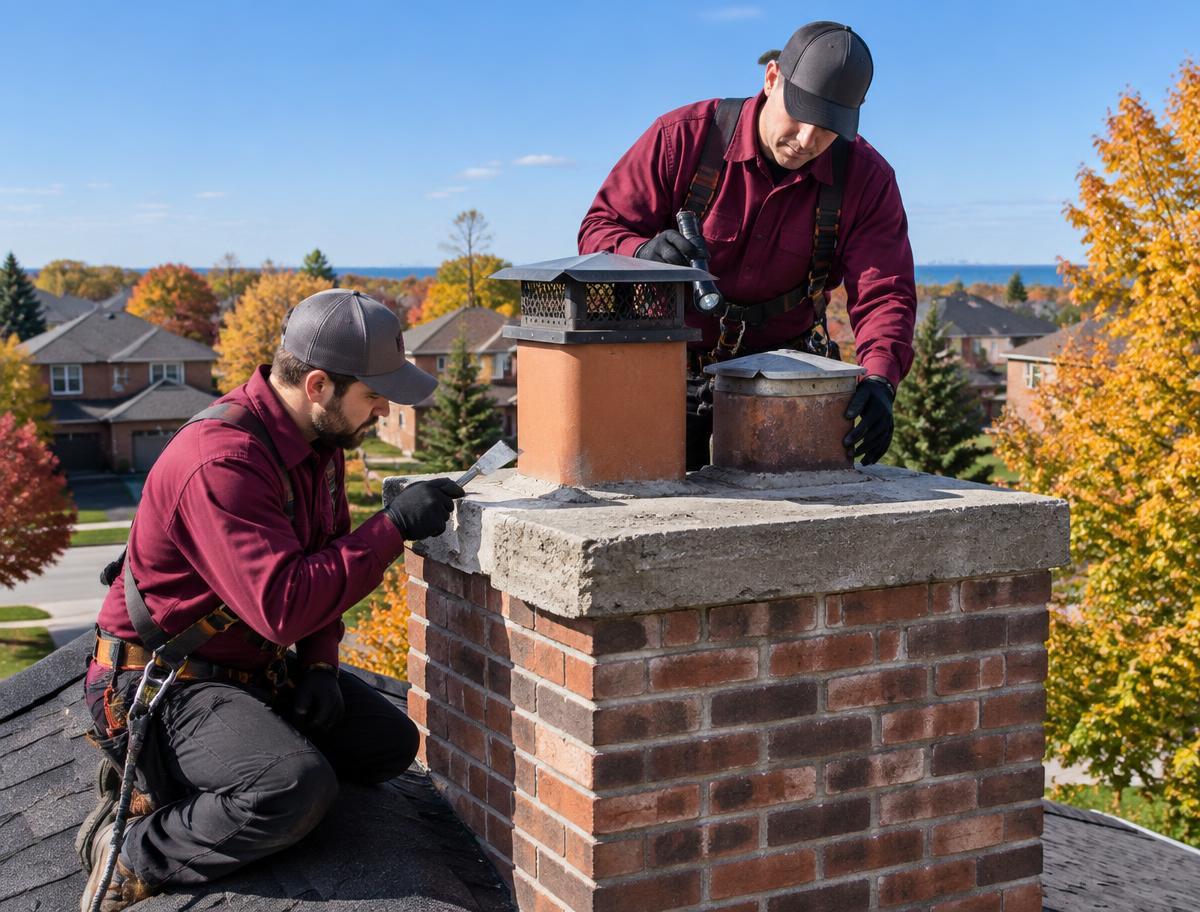
Combustion Safety, Flue Integrity, and Building Code Clearances
While chimney flashing is primarily viewed as a waterproofing system, it also interacts closely with home fire safety and combustion venting dynamics. Building codes mandate specific clearances between combustible framing materials, like roof plywood and rafters, and the exterior surface of masonry chimneys. Flashing must span these thermal expansion voids safely without permitting sparks, embers, or exterior moisture to bridge the safety buffer between structural timber and hot chimney walls.
Water leaking around flashing can rust and corrode metal flue liners, smoke dampers, and wood-burning stove connectors located just below the roof deck. If moisture breaches a flue pipe or erodes mortar between terra cotta flue tiles, carbon monoxide and noxious flue gases can leak into attic spaces and living quarters. Protecting the exterior roof junction with tight flashing maintains the structural and venting integrity of the appliances burning natural gas, oil, pellets, or cordwood inside your home.
In keeping with Canadian standards and industry best practices reflecting CSA and WETT-style safety guidelines, our technicians always examine the relationship between your chimney exterior, flashing clearances, and heating appliance venting. We strongly urge every Markham homeowner to operate working, certified carbon monoxide alarms on every living level of the home, particularly near sleeping quarters, ensuring continuous peace of mind while enjoying wood or gas-fired warmth.
- Flashing details maintain required clearance margins between hot masonry and combustible timber rafters.
- Stopping leaks prevents moisture from rusting metal flue liners and factory-built chimney pipe components.
- Intact roof seals stop combustion backdrafting caused by uncontrolled attic airflow around chimney shafts.
- Adherence to CSA-informed fire clearance standards ensures code-compliant roof-penetration construction.
- Carbon monoxide monitors on every level provide critical safety verification for fuel-burning appliances.
Selecting a Specialist and Sustaining Flashing Longevity
Repairing or rebuilding chimney flashing requires a blended skill set combining skilled sheet metal fabrication, precise roofing knowledge, and careful masonry restoration. General roofers often lack the specialized masonry tools needed to cut reglets and repoint brickwork, while standard bricklayers may not carry sheet metal brakes to fold stepped aprons. Engaging a dedicated chimney specialist ensures that both the roofing interface and the masonry anchor receive the balanced technical attention they demand.
When evaluating a contractor for your Markham home, look for clear, written scopes of work that detail metal gauges, underlayment materials, and mortar repair methods. Beware of contractors offering quick, inexpensive caulk-and-tar patches over existing rusted metal, as these temporary solutions invariably trap moisture against the brick and cause accelerated spalling. A reputable specialist takes pride in showing before-and-after photographs and explaining how their mechanical fastening methods guarantee long-term performance.
Once premium flashing is installed, sustaining its lifespan requires minimal yet consistent maintenance. We advise homeowners to arrange an exterior chimney checkup every two to three years, or whenever shingles are inspected after severe windstorms. Keeping roof valleys clear of fallen leaves, trimming overhanging tree branches, and replacing aged elastomeric sealant beads every eight to ten years will keep your chimney flashing performing flawlessly across the entire Greater Toronto Area.
- Choose contractors with documented competence in both sheet metal fabrication and brick masonry repointing.
- Insist on a complete two-piece step and counter flashing system rather than single-piece face-nailed metal.
- Avoid temporary tar or silicone patches that trap moisture against brick faces and void roofing warranties.
- Schedule biennial roof inspections to clear organic debris and monitor sealant flexibility over time.
- Request comprehensive photographic documentation of hidden step flashing layers prior to shingle completion.
Average pricing in Markham
$450 – $1,850
- Inspection / diagnostic
- $129 – $249
- Typical time on site
- 3 to 6 hours
- Parts and materials
- Sheet metal stock (aluminium, steel, or copper), ice and water membrane, polyurethane sealant, and replacement shingles
- What moves the price
- Roof pitch, accessibility, and working height above ground level · Metal material choice between aluminium, galvanized steel, or custom architectural copper · Chimney dimensions, need for a rear cricket saddle, and underlying timber rot repairs
Estimated local market range, not a quote. All estimates are in Canadian dollars and exclude 13% Ontario HST. Your exact price is confirmed before any work begins.