

A deteriorating chimney threatens more than just your curb appeal; it compromises the structural envelope and fire safety of your entire home. In Markham, residential brick chimneys face relentless seasonal punishment, shifting from sodden autumn rains directly into sub-zero winter temperatures. Over time, moisture gets trapped inside porous clay bricks and mortar joints, expanding as it freezes and slowly tearing the masonry apart. What begins as faint surface hairline cracking can quickly progress to loosened bricks, water entry into your living spaces, leaning chimney stacks, and hazardous gaps inside the flue exhaust system.
Markham Chimney Services provides thorough, enduring chimney restoration designed to address deep structural faults rather than offering temporary surface patches. Located at 4418 Highway 7 East, our team works closely with local homeowners across Markham neighbourhoods and the Greater Toronto Area to evaluate masonry stability, rebuild damaged crowns, restore deteriorated flues, and carefully repoint weathered brickwork. We take an engineering-minded, safety-first approach to chimney restoration, ensuring that your fireplace or appliance venting system operates safely, contains combustion gases reliably, and withstands harsh Ontario winters for decades to come.
Chimney Restoration: visit summary
Chimney Restoration in Markham: cracked brick, loose mortar and weather damage assessed and repaired before water gets in. Serving Markham and the Greater Toronto Area (GTA). The estimated local market range is $1,450 – $8,500+, not a fixed company rate. The final scope and quote are confirmed before work begins.
| Estimated market range | $1,450 – $8,500+. All estimates are in Canadian dollars and exclude 13% Ontario HST. |
|---|---|
| Typical time | 1 to 4 business days depending on height, scope, and weather |
| Price factors | Total height, roof pitch, scaffolding requirements, and overall site accessibility; Extent of masonry decay: localized repointing versus full teardown and rebuilding; Flue condition and whether stainless steel relining or smoke chamber parging is needed |
| Routine signs to discuss | Spalling or Flaking Brick Faces; Crumbling, Sandy Mortar Joints; White Powdery Stains (Efflorescence); Cracked or Sinking Chimney Crown; Visible Chimney Lean or Structural Tilting; Damp Stains on Interior Ceilings or Walls |
What Chimney Restoration Entails Beyond Quick Repairs
Chimney restoration is a comprehensive process that returns an aging or compromised chimney structure to full structural stability, watertightness, and operational safety. Unlike a simple cosmetic repair, such as filling a single cracked joint with silicone or dabbing surface mortar over flaking brick, restoration evaluates the chimney as an integrated venting and load-bearing system. A proper restoration project often includes partial or full chimney rebuilding from the roofline up, historic mortar colour matching, clay tile relining or stainless steel insert installation, and the construction of a reinforced concrete chimney crown.
When an exterior chimney deteriorates, the destruction rarely remains confined to the visible brick shell. Moisture that penetrates the exterior masonry often migrates inward, saturating the backer brick, rotting adjacent roof framing, soaking insulation, and breaking down the original flue tiles that line the exhaust pathway. A true restoration project diagnoses the complete path of moisture travel and heat transfer, removing unstable elements and reconstructing the assembly using high-standard materials engineered to handle both flue gas temperatures and local weather stresses.
Homeowners often wonder whether their chimney requires minor localized repointing or a broader restoration program. The answer depends heavily on how deeply moisture has penetrated the assembly and whether structural movement has occurred. If the chimney stack leans, rocks under modest hand pressure, displays widespread spalling across multiple courses, or features cracked internal flue linings, spot repairs will simply fail within a few seasons. Full restoration resolves the core mechanical causes of decay so you do not find yourself continually paying for repetitive, short-lived fixes.
- Complete structural evaluation of the masonry stack from foundation to termination
- Deep raking and repointing of deteriorated mortar beds using breathable lime-blend mortars
- Rebuilding compromised brickwork from the roofline or ground level using matching brick profiles
- Restoring internal flue passages to contain heat, sparks, and corrosive combustion byproducts
- Pouring reinforced overhanging concrete crowns to direct driving rain away from brick faces
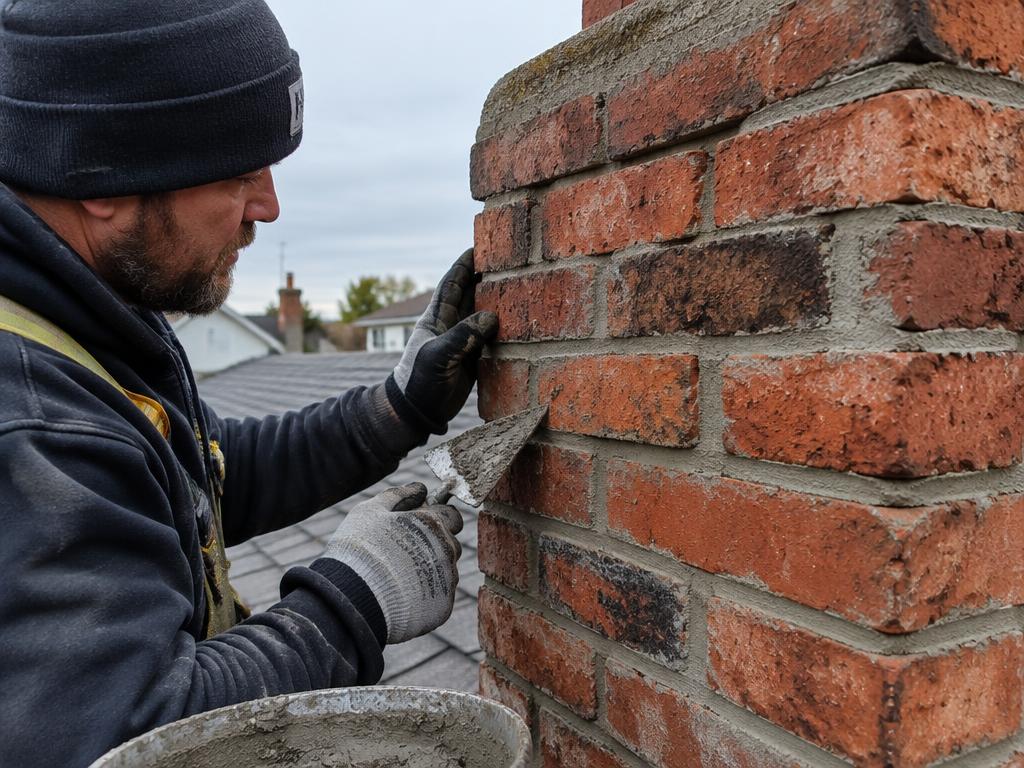
Restoring aging masonry, flue integrity, and venting safety for homeowners across Markham.
Self-check
Warning signs you need chimney restoration
Spalling or Flaking Brick Faces
Pieces of brick faces popping off, cracking, or littering your roof shingles indicate that water has soaked into the masonry core and frozen, breaking the structural face of the brick apart.
Crumbling, Sandy Mortar Joints
Mortar that rubs away into sand, displays deep voids, or pulls away easily with light finger pressure has lost its chemical bond, allowing water to penetrate deep into inner chimney courses.
White Powdery Stains (Efflorescence)
Chalky white mineral salts coating the exterior brickwork demonstrate that significant moisture is traveling through the masonry assembly, dissolving internal soluble salts and depositing them on the surface as water evaporates.
Cracked or Sinking Chimney Crown
Fissures, missing chunks, or flat mortar washes at the very top of your chimney allow torrential rainfall to drain straight into internal brick layers and flue channels, rapidly accelerating hidden rot.
Visible Chimney Lean or Structural Tilting
A chimney stack tilting away from the roofline indicates that foundation settling, rotted framing, or complete lower-level mortar failure has occurred, presenting an immediate collapse danger requiring urgent structural stabilization.
Damp Stains on Interior Ceilings or Walls
Discoloured drywall, peeling paint, or musty smells near your fireplace breast or upper-floor ceilings often signal that chimney water penetration or corroded roof flashings are channeling runoff directly indoors.
How Ontario Freeze-Thaw Cycles Destroy Local Masonry
The climate in southern Ontario creates one of the most punishing environments in North America for exterior masonry. Throughout late autumn, winter, and early spring, temperatures routinely oscillate across the freezing mark, sometimes cycling above and below zero degrees Celsius multiple times within forty-eight hours. When porous clay bricks and cementitious mortar absorb moisture during rainy spells or daytime snowmelts, that water remains trapped within microscopic capillaries. When nighttime temperatures plummet, that trapped water freezes and expands by approximately nine percent.
This volumetric expansion exerts tremendous internal hydraulic pressure within the brick body and along the mortar bond line. Over successive seasons, the cumulative expansion breaks the mechanical bond between the brick faces and the mortar bedding. The face of the brick eventually pops off entirely in a process known as spalling, leaving the soft, highly porous inner core of the brick exposed to even faster moisture saturation. Left unaddressed, entire courses of masonry lose compressive strength, causing the chimney to crumble or shift out of plumb.
Furthermore, modern high-efficiency home heating appliances combined with cold exterior chimney flues can compound the problem from the inside out. When combustion exhaust gases contain moisture vapour and acidic compounds, they can condense against cold interior flue walls if drafting is suboptimal or insulation is lacking. This creates a destructive double-sided moisture attack, where external precipitation freezes on the outer surface while acidic moisture condenses on the interior lining, rapidly accelerating chimney decay.
- Frequent winter freeze-thaw cycles create massive internal expansion stresses in masonry
- Spalling causes brick faces to flake away, exposing vulnerable inner cores to water
- Mortar bond separation allows wind-driven rain to infiltrate inner wall cavities
- Exhaust gas condensation on cold flue tiles introduces corrosive moisture from within
- Winter road salt mist and atmospheric pollutants can slowly degrade exterior binders
The Hidden Deterioration Inside Your Chimney Flue
While exterior brick decay is readily visible from the ground, internal flue deterioration often develops silently out of sight. Most mid-century and older homes feature flues lined with modular rectangular clay tiles joined with refractory or standard mortar. Over decades of service, thermal shock from heating fires combined with moisture exposure causes these clay tiles to crack, shift, or fragment. Once a flue tile cracks, dangerous gaps open directly toward combustible wooden framing inside your attic, roof deck, and living spaces.
The interior smoke chamber, located directly above the fireplace throat and damper, is another common problem area requiring restoration. Historically, smoke chambers were constructed by corbelling brick inward toward the flue, leaving rough stepped brick edges that collect soot and restrict draft. Building safety codes and sensible restoration standards require these stepped corbels to be parged smooth with heat-resistant refractory mortar, creating an aerodynamic, insulated transition that minimizes creosote buildup and resists fire penetration.
Restoring the interior venting pathway often requires installing a certified stainless steel chimney liner system, insulated with ceramic wool wraps or poured insulation mixtures. This intervention effectively creates a modern, seamless flue within the historic brick envelope. An insulated stainless liner keeps flue gases hot, which dramatically improves draft velocity, minimizes corrosive condensation, and ensures that woodsmoke or furnace exhaust moves cleanly outdoors without entering your living environment.
- Thermal shock causes structural splits and horizontal fractures in original clay flue liners
- Eroded flue mortar joints permit smoke, sparks, and gases to reach house framing
- Corbelled smoke chambers create turbulent airflow and high creosote accumulation zones
- Refractory parging seals internal smoke chambers to promote smooth draft and heat resistance
- Insulated stainless steel relining provides an airtight, corrosion-resistant exhaust path
Critical Fire Safety and Carbon Monoxide Considerations
A neglected chimney is a serious household fire and toxic gas hazard. The primary function of any chimney is to exhaust dangerous combustion byproducts, including carbon monoxide, unburned hydrocarbons, nitrogen oxides, and acidic water vapour, safely outside the building envelope. When masonry joints separate or flue liners shatter, the structural boundary between deadly furnace or fireplace exhaust and your indoor breathing air breaks down, allowing carbon monoxide to seep undetected into bedrooms and living spaces.
We approach every chimney restoration in alignment with CSA venting guidelines and standard WETT safety principles, ensuring that adequate clearances to combustible materials are maintained or restored. In older homes, chimney masonry was frequently constructed in direct contact with wooden floor joists, wall studs, and roof rafters. If the interior flue cracks or an intense chimney fire ignites within accumulated creosote, heat can readily transfer through thin, unlined, or broken masonry walls, igniting surrounding wood framing via pyrolysis.
Every household operating a wood-burning appliance, gas fireplace, or fuel-fired heating system must maintain working carbon monoxide alarms on every level of the home, particularly outside sleeping areas. During a chimney restoration, our focus extends beyond stabilizing loose bricks to confirming that the entire venting system drafts properly under real-world operating conditions, eliminating backdrafting risks caused by modern airtight building envelopes, powerful kitchen range hoods, or cold chimney stacks.
- Cracked flues create direct pathways for lethal, odorless carbon monoxide to enter the home
- Pyrolysis can cause adjacent wooden framing to ignite at lower temperatures over time
- CSA-aligned clearances and non-combustible boundaries are verified during reconstruction
- Proper draft dynamics prevent backdrafting caused by negative indoor air pressure
- Working carbon monoxide alarms on all living levels remain an indispensable safeguard
"When a storm loosened some bricks, I called for emergency repair in Thornhill. Their crew arrived within hours, secured the chimney crown, and restored its integrity without any mess. Truly impressive expertise."
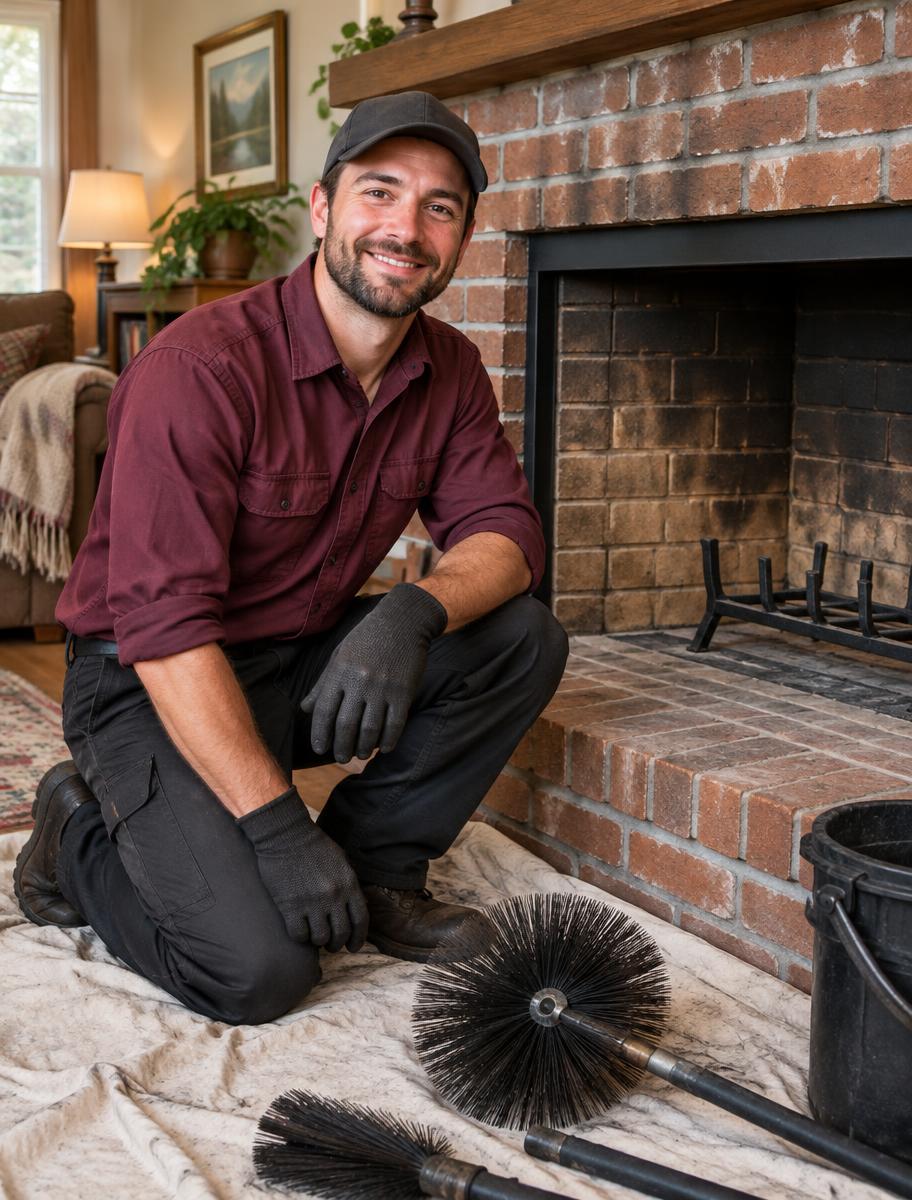
Our process
How we handle your chimney restoration, step by step
- 1
Comprehensive Top-to-Bottom Assessment
We examine the entire chimney structure from roof level to basement, evaluating crown condition, brick soundness, mortar integrity, flashing seals, and internal flue lining stability.
- 2
Site Preparation and Roof Protection
We establish secure roof scaffolding, ladders, and protective tarps across your roof surfaces and landscaping to guarantee work safety and prevent structural property damage.
- 3
Controlled Demolition and Raking
Our masons dismantle deteriorated upper courses and rake out crumbling mortar beds using dust-controlled tools, cleaning joints to sound substrate for superior new mortar bonding.
- 4
Rebuilding, Repointing, and Crown Pouring
We lay matched replacement bricks in breathable mortar, point joints meticulously, install custom two-piece metal flashing, and pour a reinforced overhanging concrete crown with drip edges.
- 5
Final Cleanup and Protective Sealing
We wash finished brickwork, apply a breathable deep-penetrating water repellent if specified, thoroughly clean all roof valleys and gutters, and conduct a comprehensive final walk-through inspection.
Restoring Historic and Mid-Century Markham Brickwork
Markham contains a distinct mix of architectural eras, ranging from mid-century post-war bungalows and split-levels in neighbourhoods like Cornell and Unionville to grand custom builds in the Angus Glen and Hoggs Hollow. Many of these homes feature red shale brick, buff brick, or wire-cut clinker brick assemblies laid with historic mortar blends. Restoring these chimneys requires an appreciation for traditional masonry chemistry, because using the wrong modern repair materials will cause catastrophic damage to aging brickwork.
A common mistake made by inexperienced contractors is repointing older mid-century chimneys using modern, high-strength Type M or Type S Portland cement mortars. These modern mortars cure to an extremely dense, brittle hardness that is far less vapor-permeable than the surrounding older bricks. When moisture inevitably enters the wall, it cannot escape through the mortar joints; instead, it is forced through the softer brick faces, accelerating brick spalling during winter freezes. Proper restoration uses softer, flexible, lime-forward mortars that breathe and allow moisture dissipation.
Sourcing replacement brick that matches the colour, texture, absorption rate, and imperial sizing of mid-century brick is an essential aspect of our restoration craftsmanship. We take great care to match original mortar pigment, aggregate grain size, and joint tooling styles, whether weathered struck, raked, or flush. This meticulous attention ensures that the restored chimney stack blends seamlessly with the authentic architectural character of your home rather than looking like an obvious, mismatched patch.
- Respect for the unique architectural character of post-war Markham neighbourhoods
- Use of lime-rich, breathable mortar formulations rather than excessively rigid Portland mixes
- Careful sourcing of salvage or period-accurate replacement bricks matching historic dimensions
- Precise aggregate and pigment matching to duplicate original joint colour and texture
- Preservation of original tooling profiles to maintain heritage exterior aesthetics
Proven Restoration Techniques: Repointing, Rebuilding, and Flashing
A proper chimney restoration follows a methodical, engineering-backed sequence designed to rebuild structural integrity from the core outward. The process begins with safe staging and thorough containment to protect your roof shingles, gutters, and landscaping below. Defective mortar joints are carefully ground out to a uniform depth of at least three-quarters of an inch using dust-controlled diamond tools, taking special care not to damage the sharp arrises of the surrounding brickwork before fresh mortar is packed into the joint.
Where masonry has loosened beyond the point of repointing, the chimney is systematically dismantled down to sound, undisturbed brick courses. Reconstruction proceeds using weather-resistant brick, proper reinforcement ties, and appropriately graded mortar. At the top of the stack, we discard typical weak mortar wash caps in favour of thick, steel-reinforced, cast-in-place concrete crowns that extend at least two inches past the masonry perimeter with a dedicated drip edge underneath, preventing rainwater from running down the exterior walls.
No chimney restoration is complete without addressing roof junction flashings. Rusted, improperly stepped, or caulked-over flashings are a primary source of destructive attic leaks. We fabricate and install two-piece custom metal flashing systems, consisting of an L-shaped base flashing woven directly between roof shingles and an overlapping counter flashing ground deep into the masonry bed joints. This independent two-part configuration allows natural structural settling and thermal movement without breaking the watertight roof seal.
- Dust-controlled diamond raking of decayed mortar beds to ensure strong fresh adhesion
- Structural rebuilding of unstable stacks down to solid, well-anchored masonry courses
- Installation of heavy concrete crowns with drip edges to shed precipitation clear of brick
- Custom two-piece lead or copper step and counter flashing ground into masonry joints
- High-grade breathable siloxane water repellent applications to protect finished brickwork
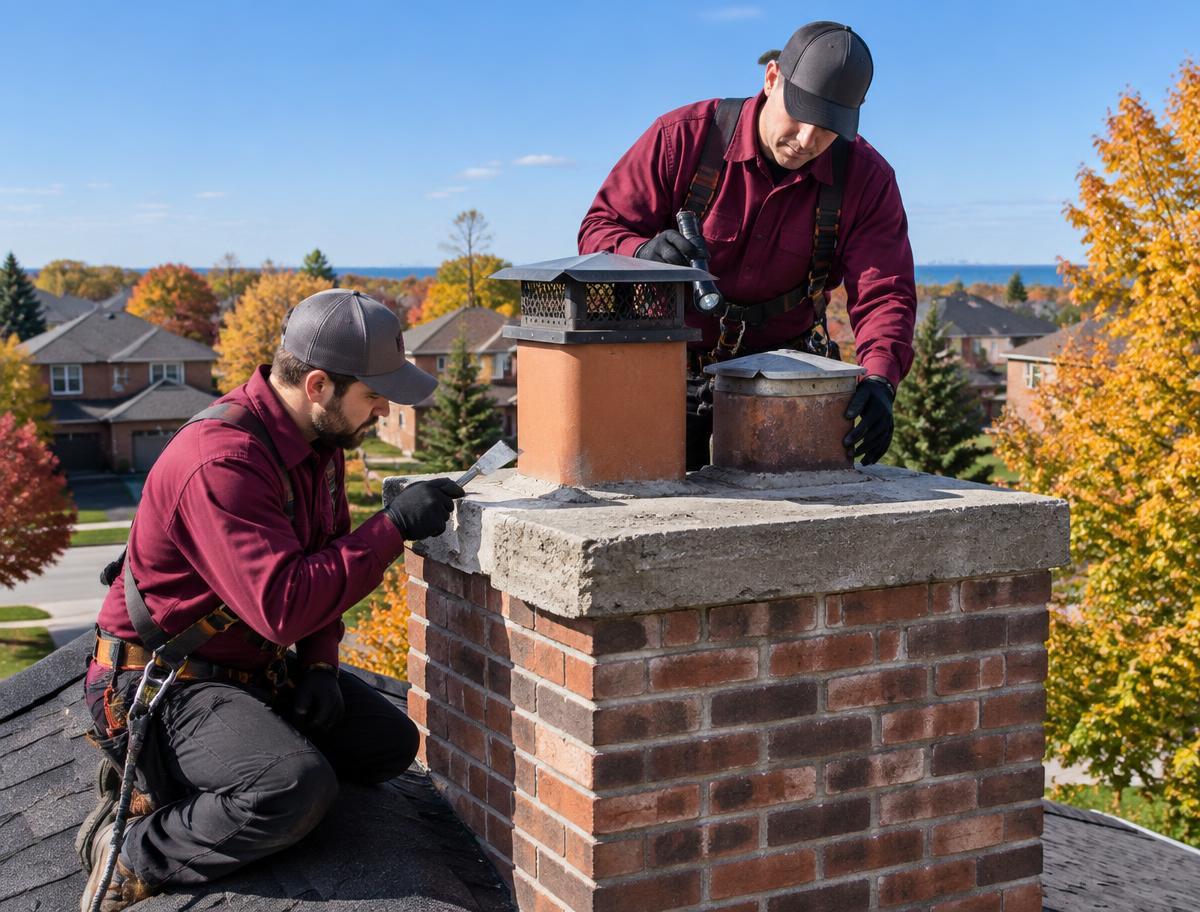
Homeowner Maintenance Tips to Protect Restored Chimneys
Once your chimney has been professionally restored, proactive homeowner maintenance will preserve the masonry and extend the life of your investment for decades. The most crucial preventive action is controlling moisture access. Ensure that high-quality stainless steel chimney caps with integrated spark arrestor mesh are securely mounted over every flue tile. Caps prevent rain, snow, debris, and curious wildlife from entering the flue system while stopping burning embers from escaping onto your roof.
Homeowners should make a habit of visually inspecting the exterior of their chimney each spring and autumn from ground level using binoculars. Look closely for newly developed hairline cracks in the concrete crown, green moss or lichen growth along mortar lines, white powdery efflorescence deposits on brick faces, or rusted flashing edges along the roofline. Catching minor wear early allows simple sealing treatments before water can seep deep inside and initiate another destructive freeze-thaw cycle.
It is equally important to manage the microclimate around your chimney. Trim back overhanging tree branches that cast constant shade or deposit damp leaves against the masonry stack, as persistent moisture encourages fungal growth and slows natural solar drying. Additionally, schedule regular internal sweeping and inspections for any wood-burning fireplace, keeping creosote layers below dangerous thresholds and ensuring the draft path remains unobstructed year-round.
- Install heavy-gauge stainless steel chimney caps with integrated animal guards
- Conduct biannual visual assessments from the ground to spot emerging surface defects
- Prune nearby tree limbs to maximize sunlight exposure and reduce leaf accumulation
- Ensure attic spaces are properly ventilated to prevent interior moisture condensation
- Maintain regular internal flue cleanings to prevent caustic, highly flammable creosote buildup
What to Look for When Choosing a Masonry Restoration Specialist
Selecting the right contractor for chimney restoration requires careful diligence, as chimney masonry demands specialized structural and thermodynamic understanding that general handymen rarely possess. A qualified chimney restoration specialist should demonstrate a deep knowledge of historic lime mortars, proper crown engineering, local building code clearances, and venting physics. Avoid contractors who propose fast, cheap solutions like slathering roofing tar over damaged crowns or applying impermeable elastomeric paints over exterior brick.
Always demand a comprehensive written scope of work before authorizing any restoration project. The proposal should clearly itemize all phases of the project, including scaffolding setup, mortar joint preparation depths, specific types of brick and mortar being utilized, crown specifications with drip edges, flashing replacements, and site cleanup procedures. A reputable contractor will also provide detailed photographic documentation of your chimney taken from roof level, showing you the exact failure points before work commences.
Verify that any contractor working on your roof carries comprehensive commercial general liability insurance and active Workplace Safety and Insurance Board (WSIB) coverage for working at heights. Chimney restoration carries inherent working-at-heights risks, and hiring properly insured, safety-conscious professionals protects you from severe legal and financial liabilities. A dedicated local specialist will stand behind their work with robust guarantees and transparent communication throughout the restoration project.
- Insist on thorough, photo-documented assessments from roof height before signing contracts
- Avoid contractors who recommend roofing tar, silicone caulking, or rubberized paint as fixes
- Require detailed written contracts detailing materials, mix formulations, and clean-up steps
- Confirm valid WSIB coverage and comprehensive commercial general liability insurance
- Look for deep expertise in chimney thermodynamics, venting safety, and masonry physics
Average pricing in Markham
$1,450 – $8,500+
- Inspection / diagnostic
- $180 – $350 (often credited toward contracted restoration work)
- Typical time on site
- 1 to 4 business days depending on height, scope, and weather
- Parts and materials
- Replacement bricks, custom stainless steel flues, cast concrete crowns, lead or copper flashing metal, and siloxane water repellents quoted separately
- What moves the price
- Total height, roof pitch, scaffolding requirements, and overall site accessibility · Extent of masonry decay: localized repointing versus full teardown and rebuilding · Flue condition and whether stainless steel relining or smoke chamber parging is needed
Estimated local market range, not a quote. All estimates are in Canadian dollars and exclude 13% Ontario HST. Your exact price is confirmed before any work begins.